
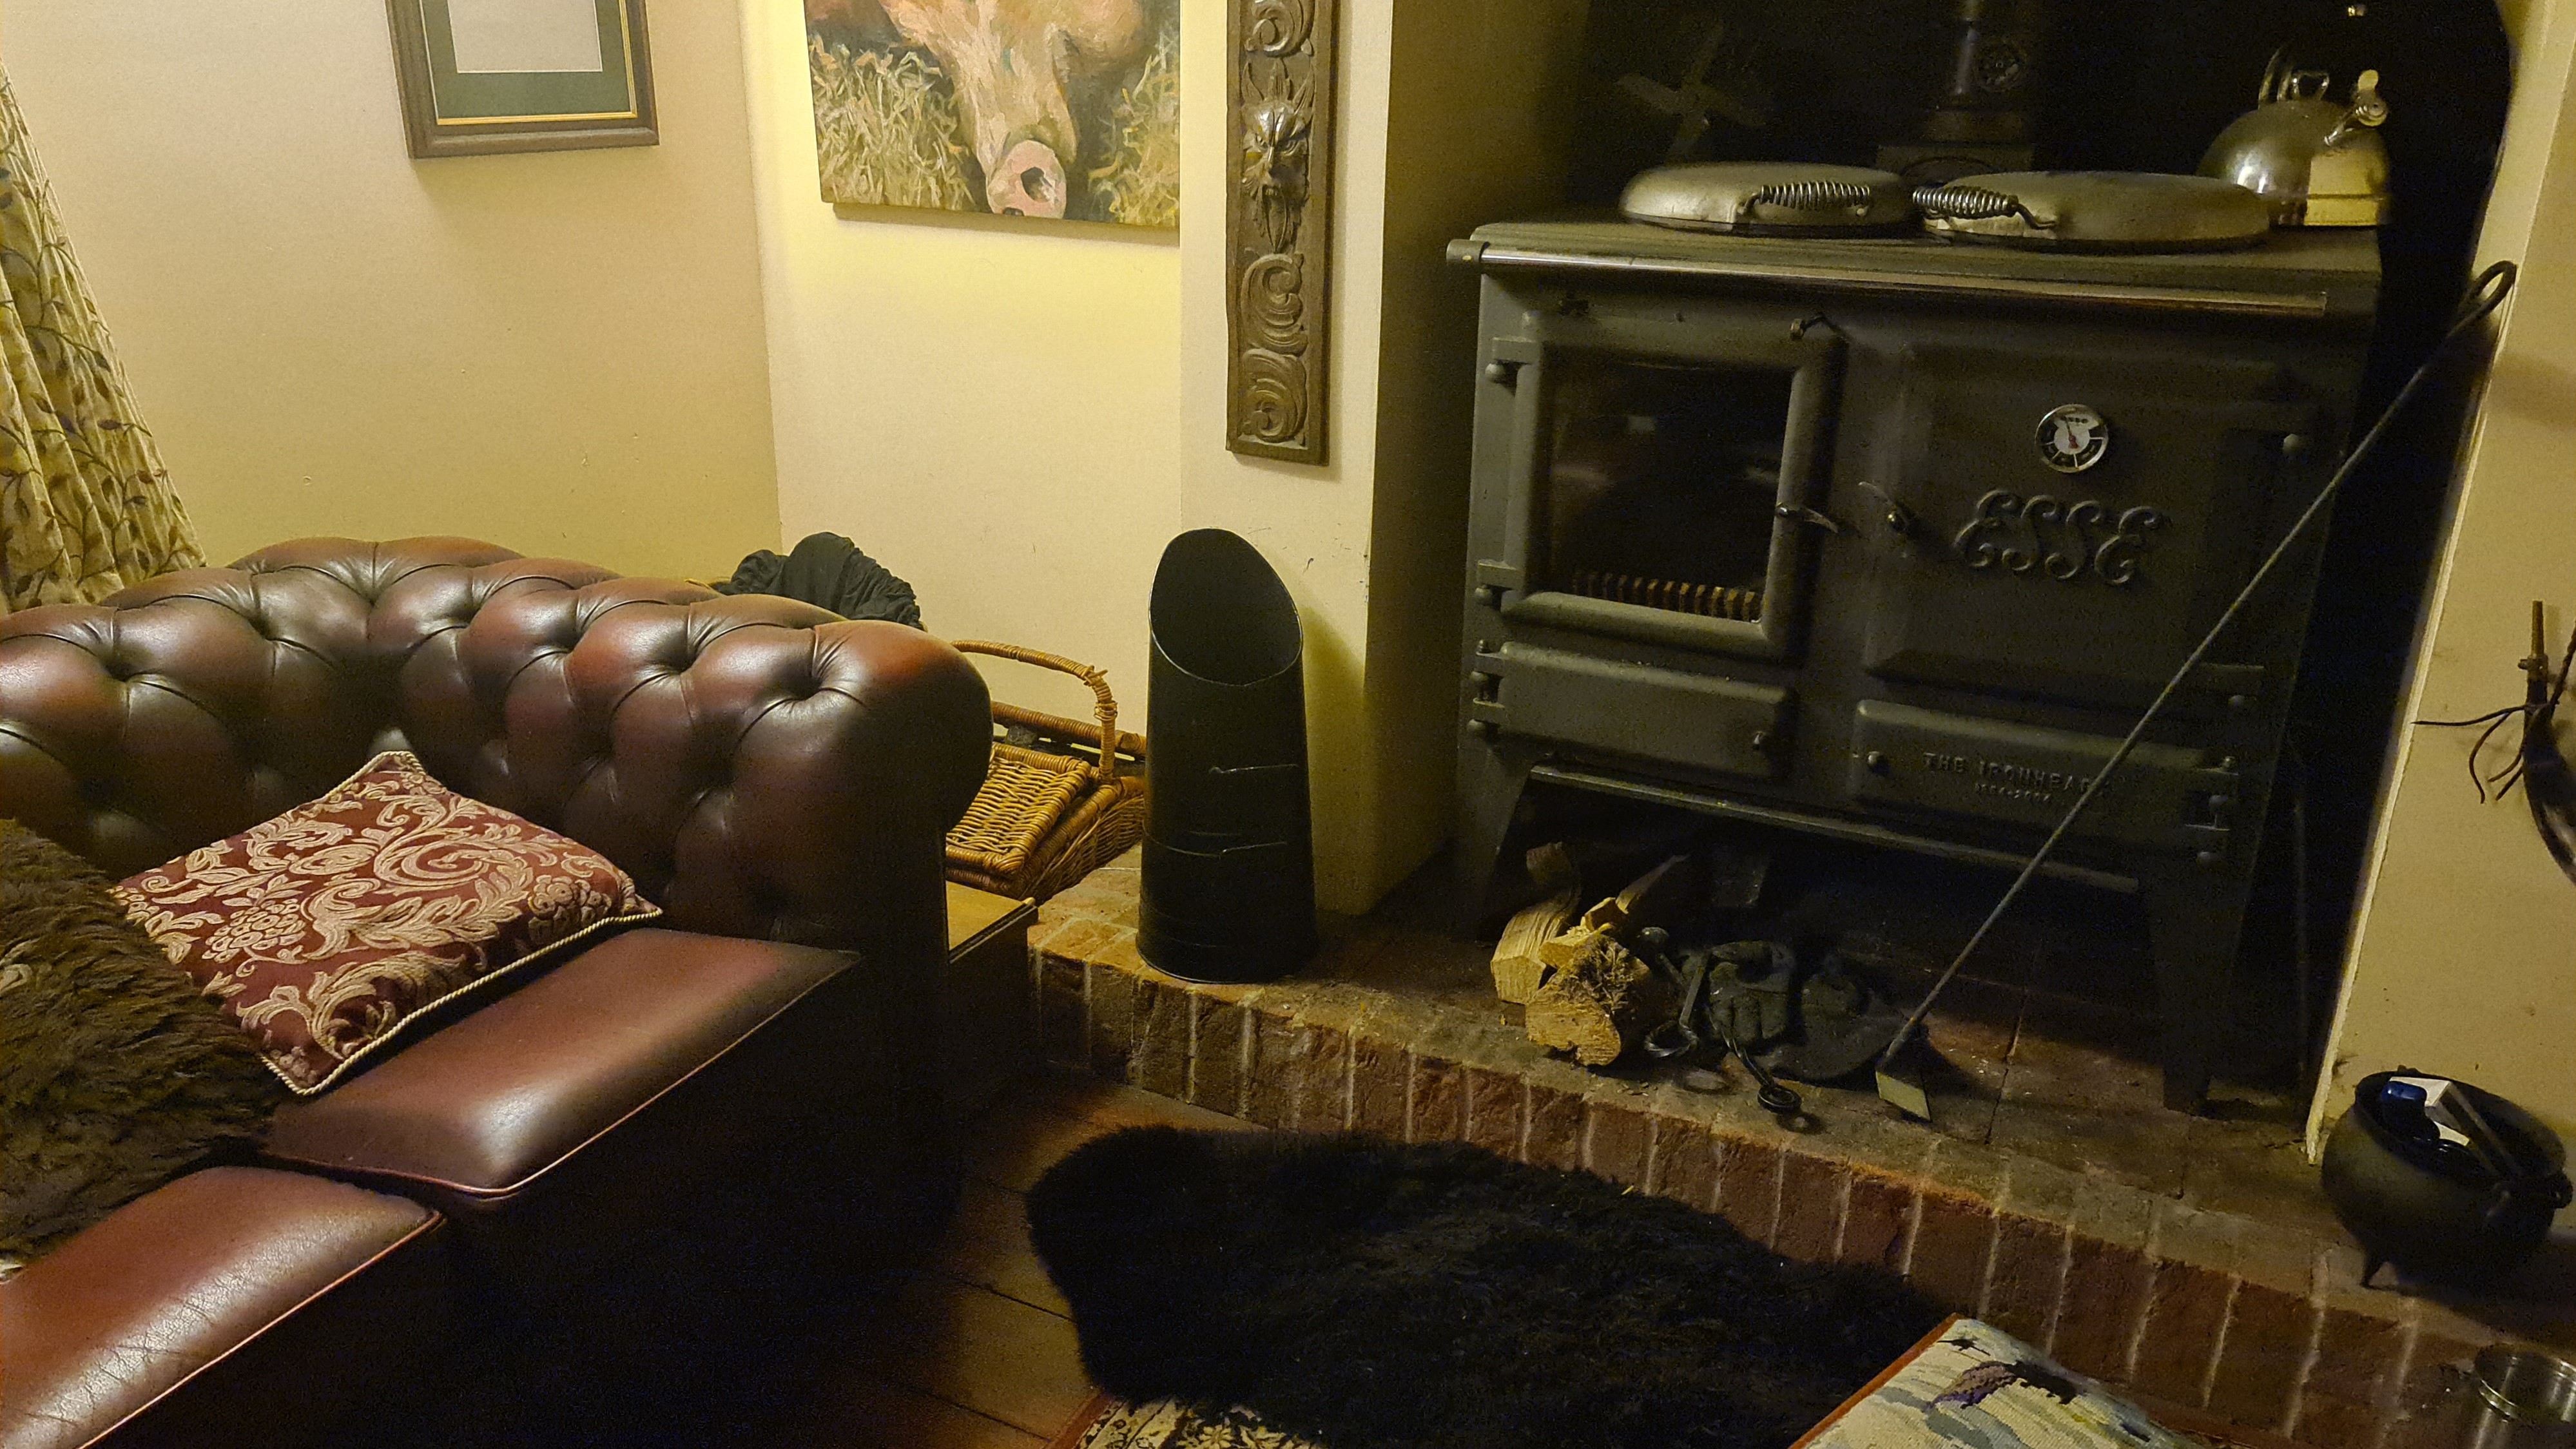
We are incredibly proud of our little cottage. It’s bigger now but back in the 1700s it was only a 2 up/2 down arrangement and our lounge would have been the main room for preparing, preserving and cooking food. We decided to pay homage to the original purpose of the room by installing an Esse Ironheart oven in the HUGE fireplace that the previous owners had hidden behind wood panelling.

One thing with the self sufficient lifestyle (particularly in a period property) is we really HAD to learn to do basic maintenance and repair jobs ourselves whether it was adding airline oil to the log splitter, doing a bit of repointing, relining a chicken coop roof or any of the other 101 jobs that are needed on any given day. We all have that “I don’t know how” feeling often but with YouTube, Google, Twitter and friends, there’s always an expert around to show you how.
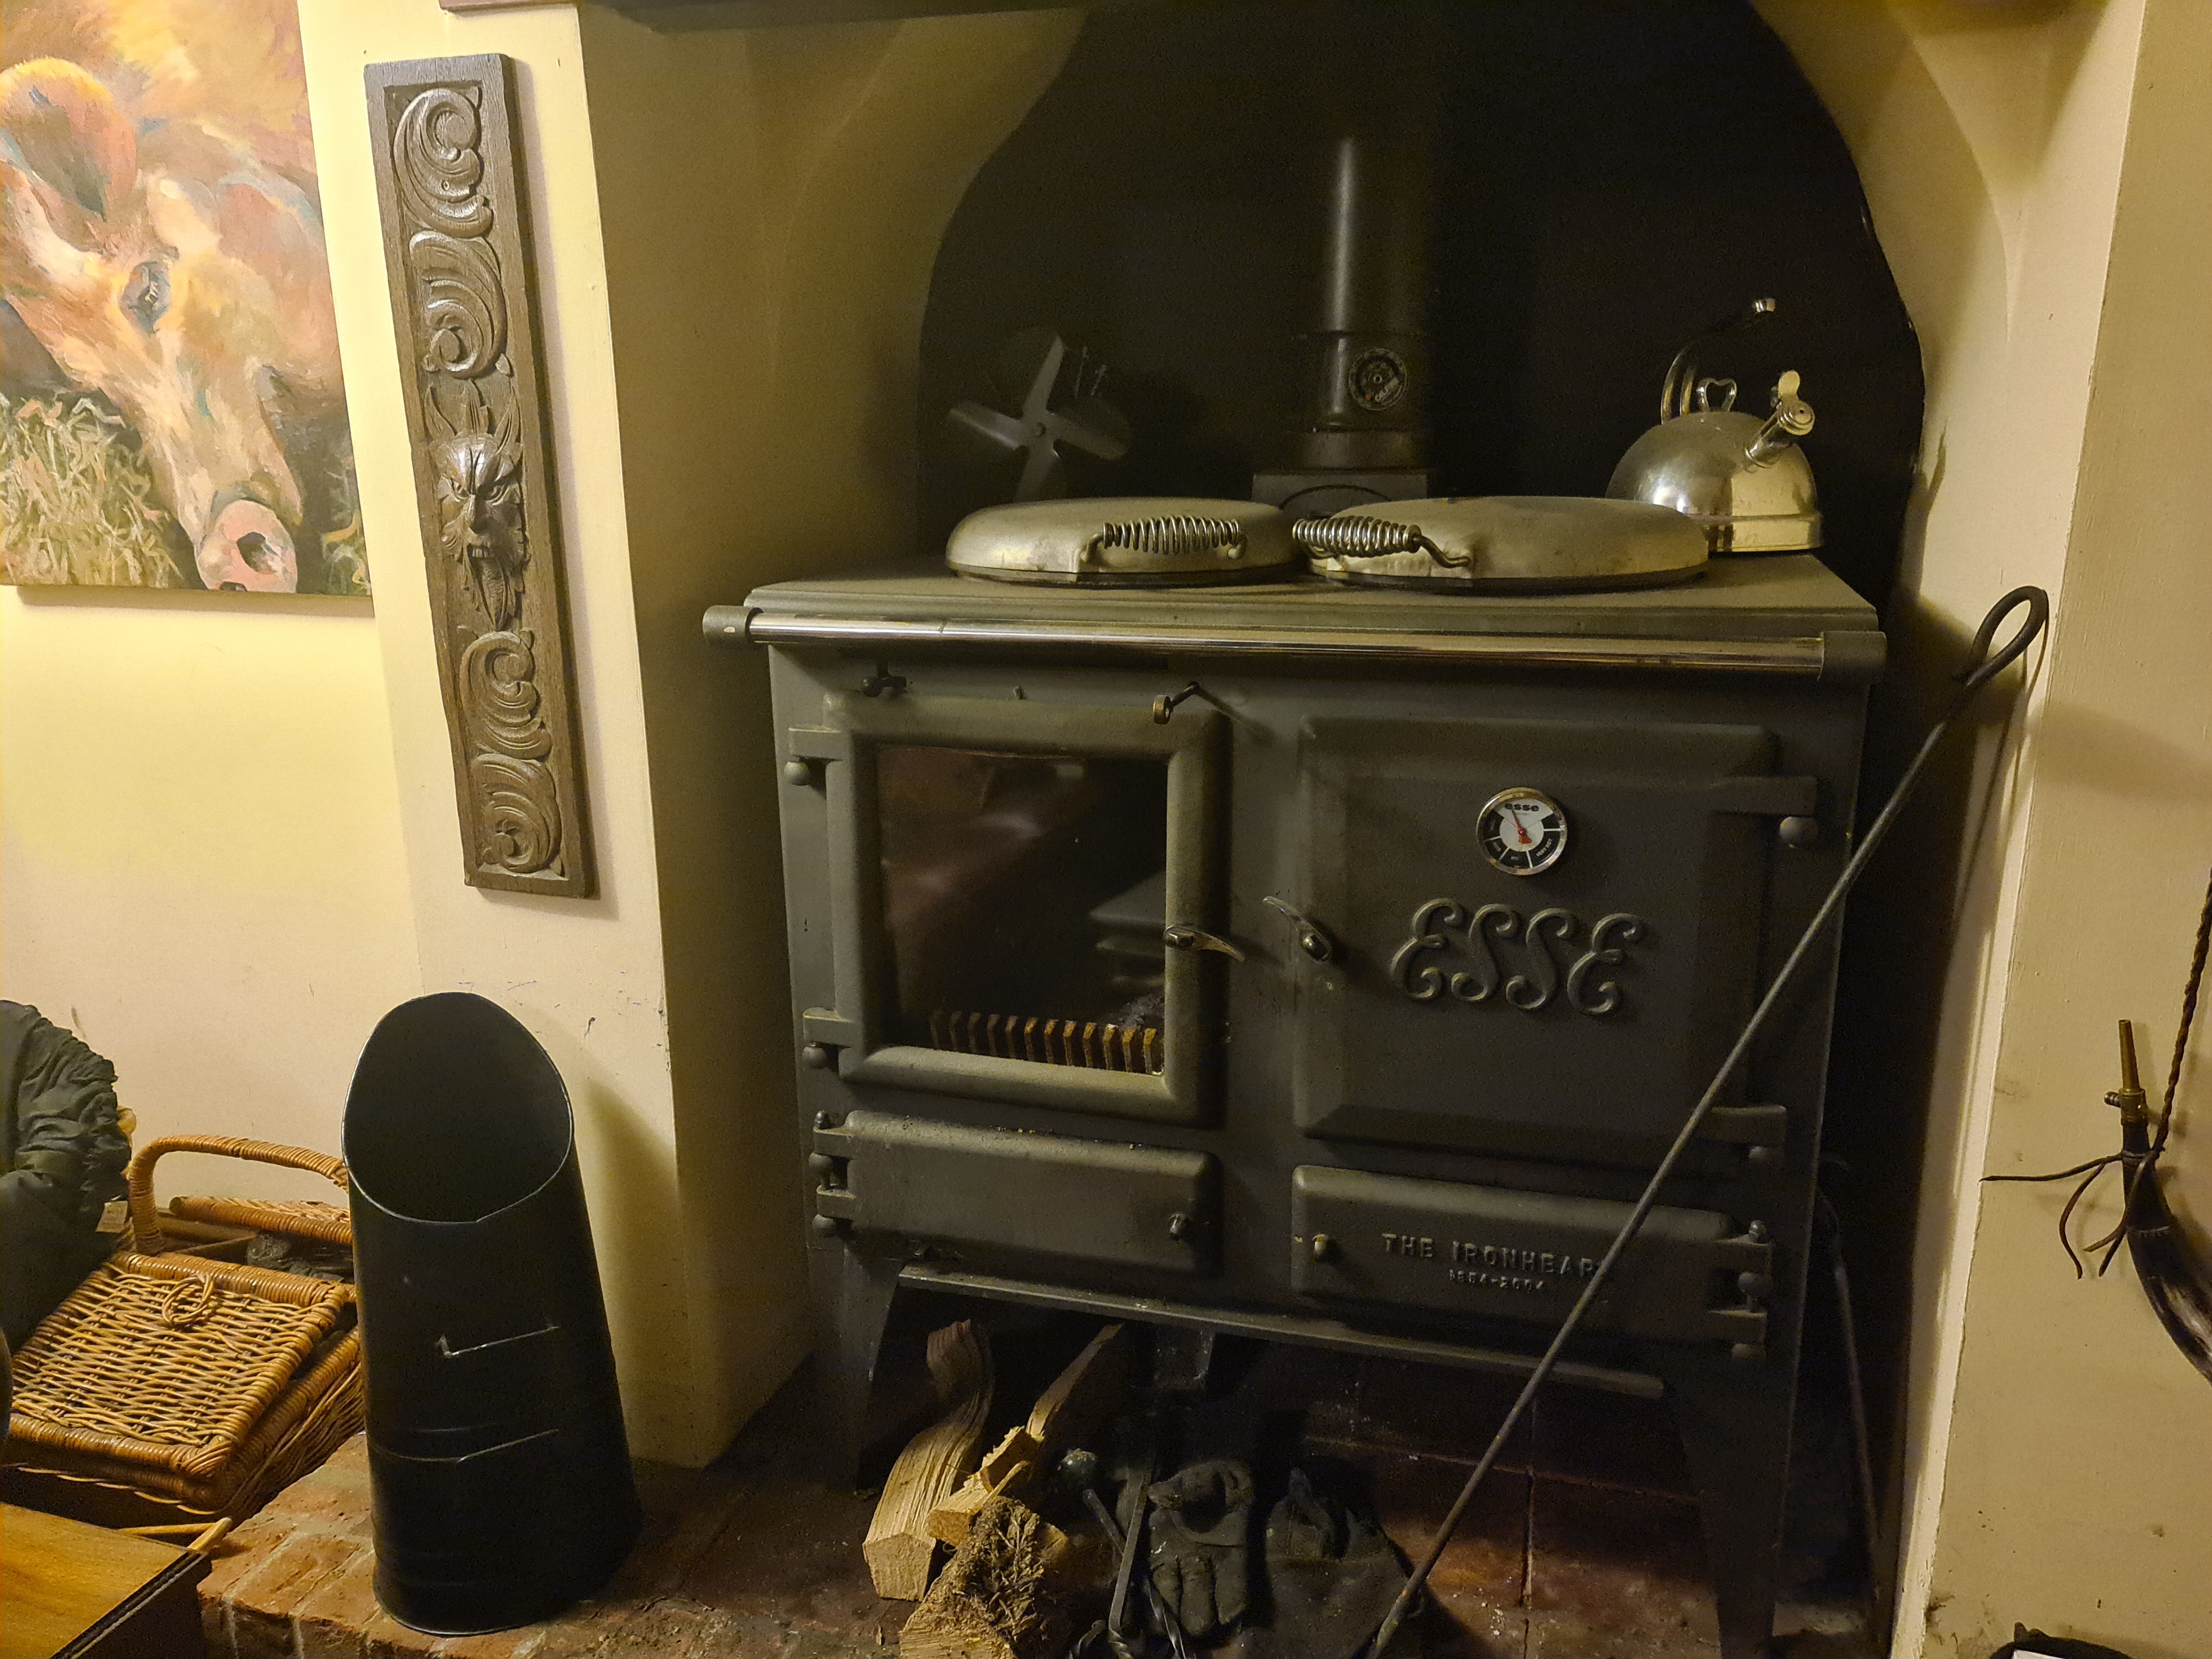
Today’s job was a bit of preventative maintenance on the Esse Ironheart woodburning stove. It’s our main winter heat source so now is the time before it starts getting too cold. As you can see the glass has become really scratched. We find it needs replacing every few years.


On the Ironheart the door just lifts of the pintle hinges so I took it into the workshop and laid it on an old towel.
The glass in the door is held in place by eight brackets against a fire rope gasket so it doesn’t get cracked by pushing it against metal. Esse sell spare glass, fire rope and the glue to attach it on their website. First job was easy. Unscrew the eight brackets.
Never, never ever, never, never ever say a job will be easy. Three of the machine screws that hold the brackets in place had softened and worn. Not surprising after a decade of heating and cooling. But, as the amateur stove maintainer I had an “Oh Sh*t” moment. I could get new screws but needed to get the old ones out as they screw into the door itself.
After a moment of head scratching, I took an angle grinder and cut a slot into the pan head screw essentialy creating a brand new groove where a screwdriver could fit. Then I could use a large flat head screwdriver to get enough purchase to back out the screw.
One of the big lessons I have learned is that having a decent selection of tools gets me out of all sorts of trouble!


Having backed the screws out we then needed to find a replacement. Enter one of the many “tubs of bits”. This one small bolts! I soon found that these machine screws were M5 (5mm diameter thread). I had some very long M5 bolts but nothing quite the right size, so nipped across to see our great mate Dave
Dave has EVERYTHING mechanical and as always he brought out a large box of bolts. After a rummage I found something very close. They were a bit too long but I cut them down with the angle grinder and de-burred them with a file.
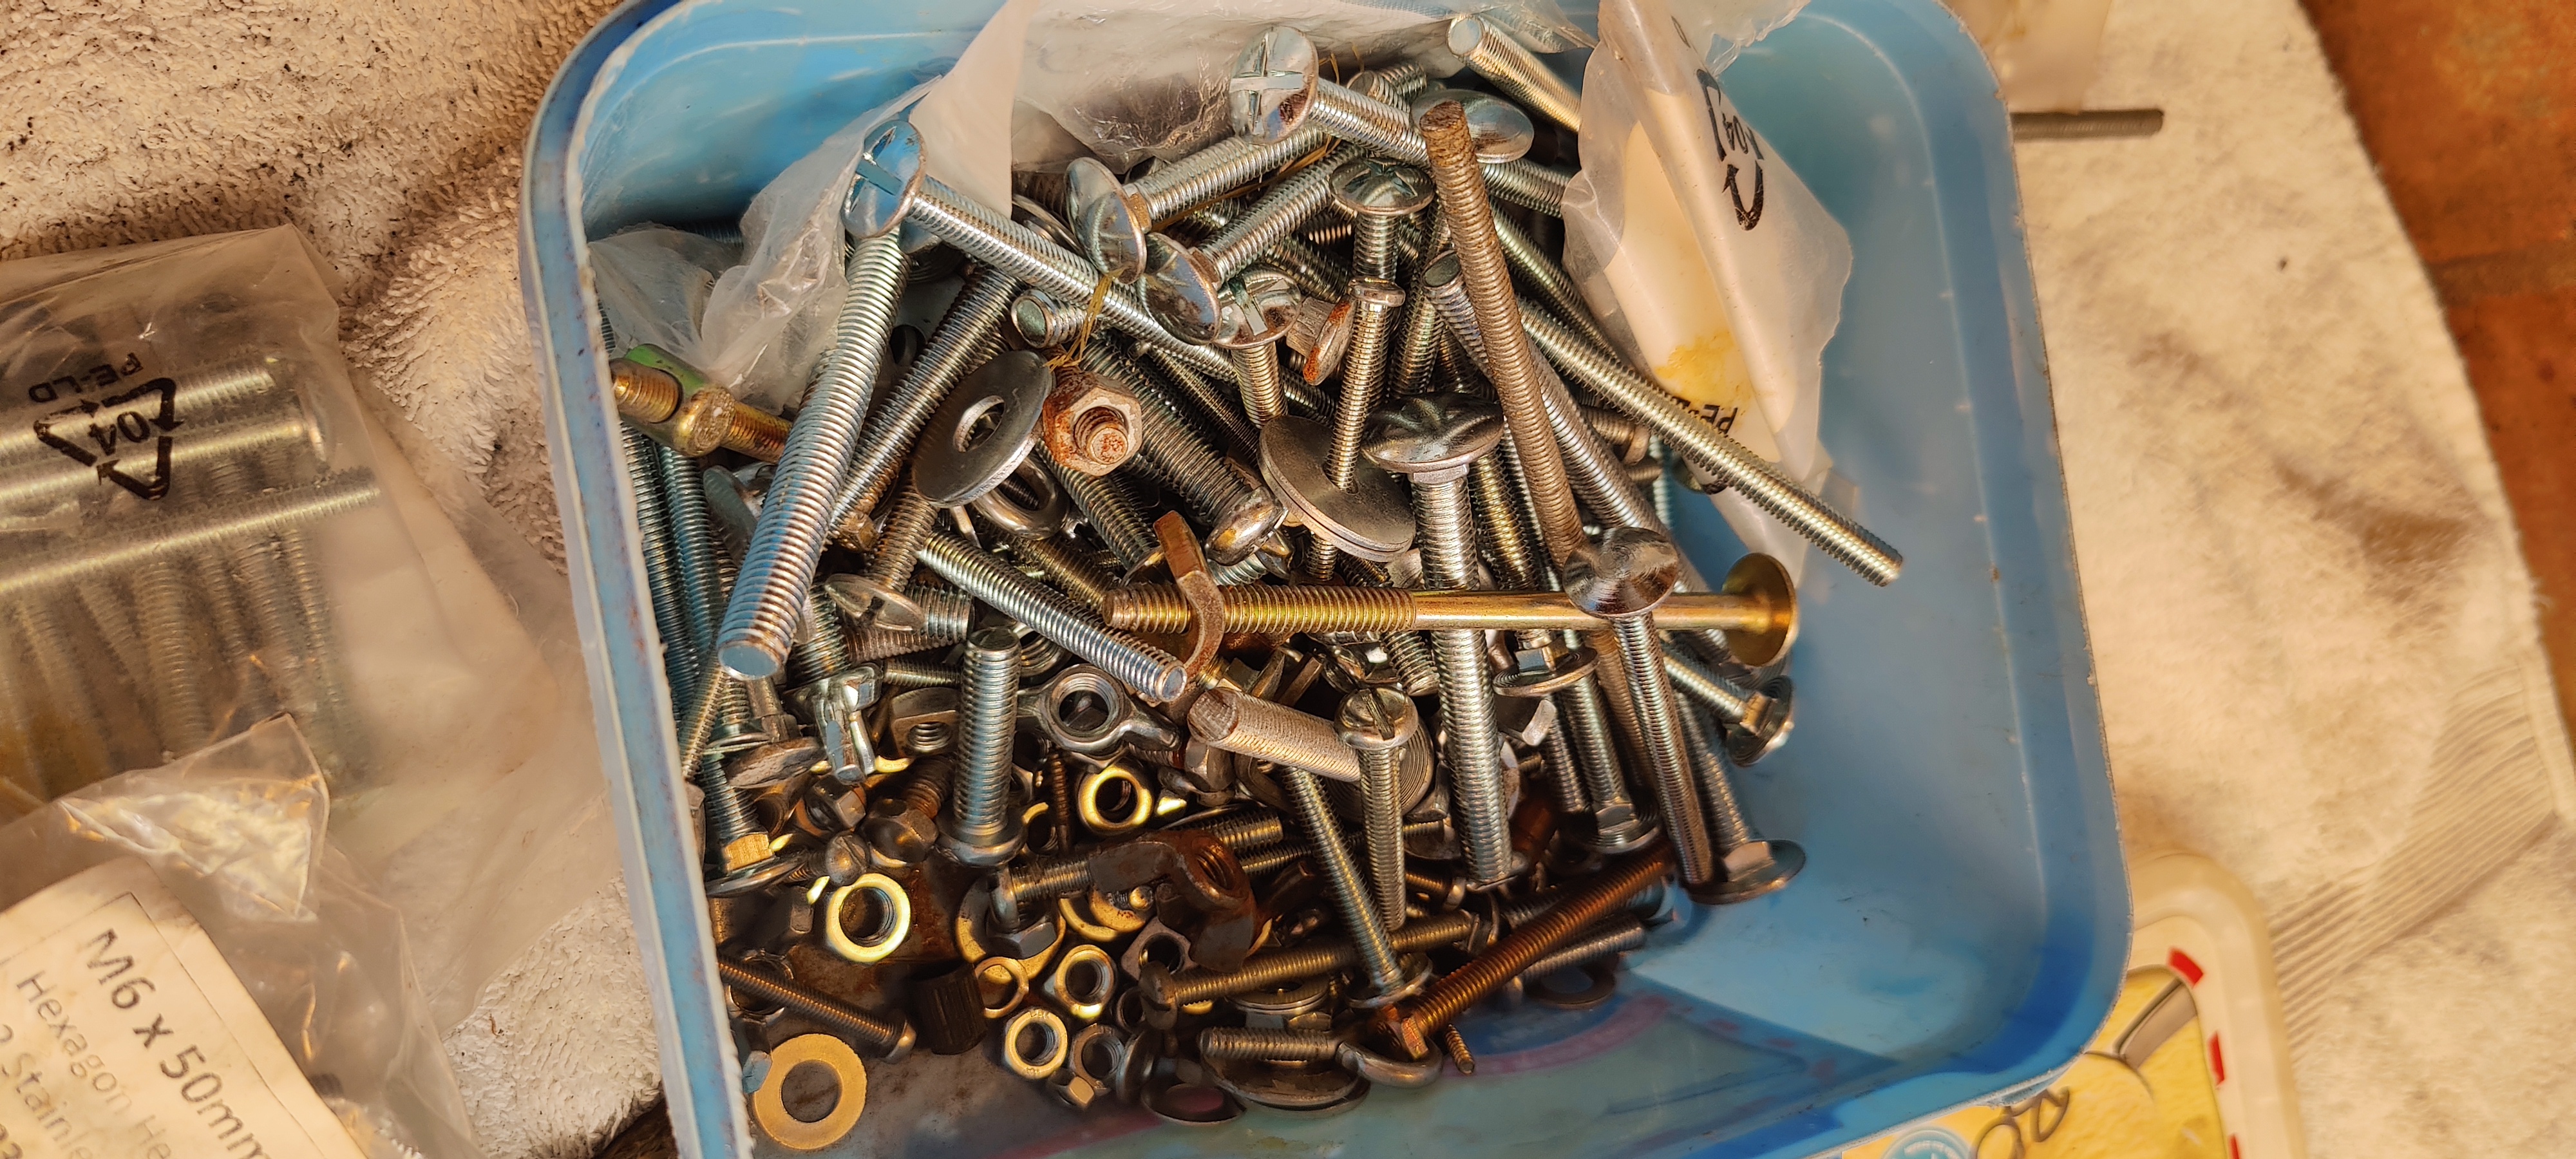
They fitted great (phew). Now I could have spent £5 on Amazon and bought a bag, but with a little effort and some spares, we saved a few quid. Two lessons I have learned
1. Keep spares!
2. Good neighbours make great friends!
The next step was to strip the old fire rope out, clean up up the door with a wire brush before replacing the fire rope with the rope and glue direct from Esse.


After that the new glass was put it, the brackets reattached and the door re-hung. This time it WAS easy!
Doesn’t it look amazing compared to the original picture?
For a long time I let fear of messing up hold me back from tackling jobs like this, but the more I do, the more straightforward they become. Of course things go wrong, they do for professionals too but with a selection of basic tools spares and expert friends, most problems can be quickly overcome!
I swear the measure of the mettle of a farmer/self sufficiency person/etc is the number of ‘tubs’ (varying shapes, previous purposes) and quantity/variety of bolts, screws, widgets maintained in ‘the shed’.
Absolutely, and the offcuts of wood, metal, plastic pipe etc. that “will come in useful” 😉